If you read all the way through this blog post the title will become clear, or if you are familiar with bookbinding you can probably guess where i am going with this ...
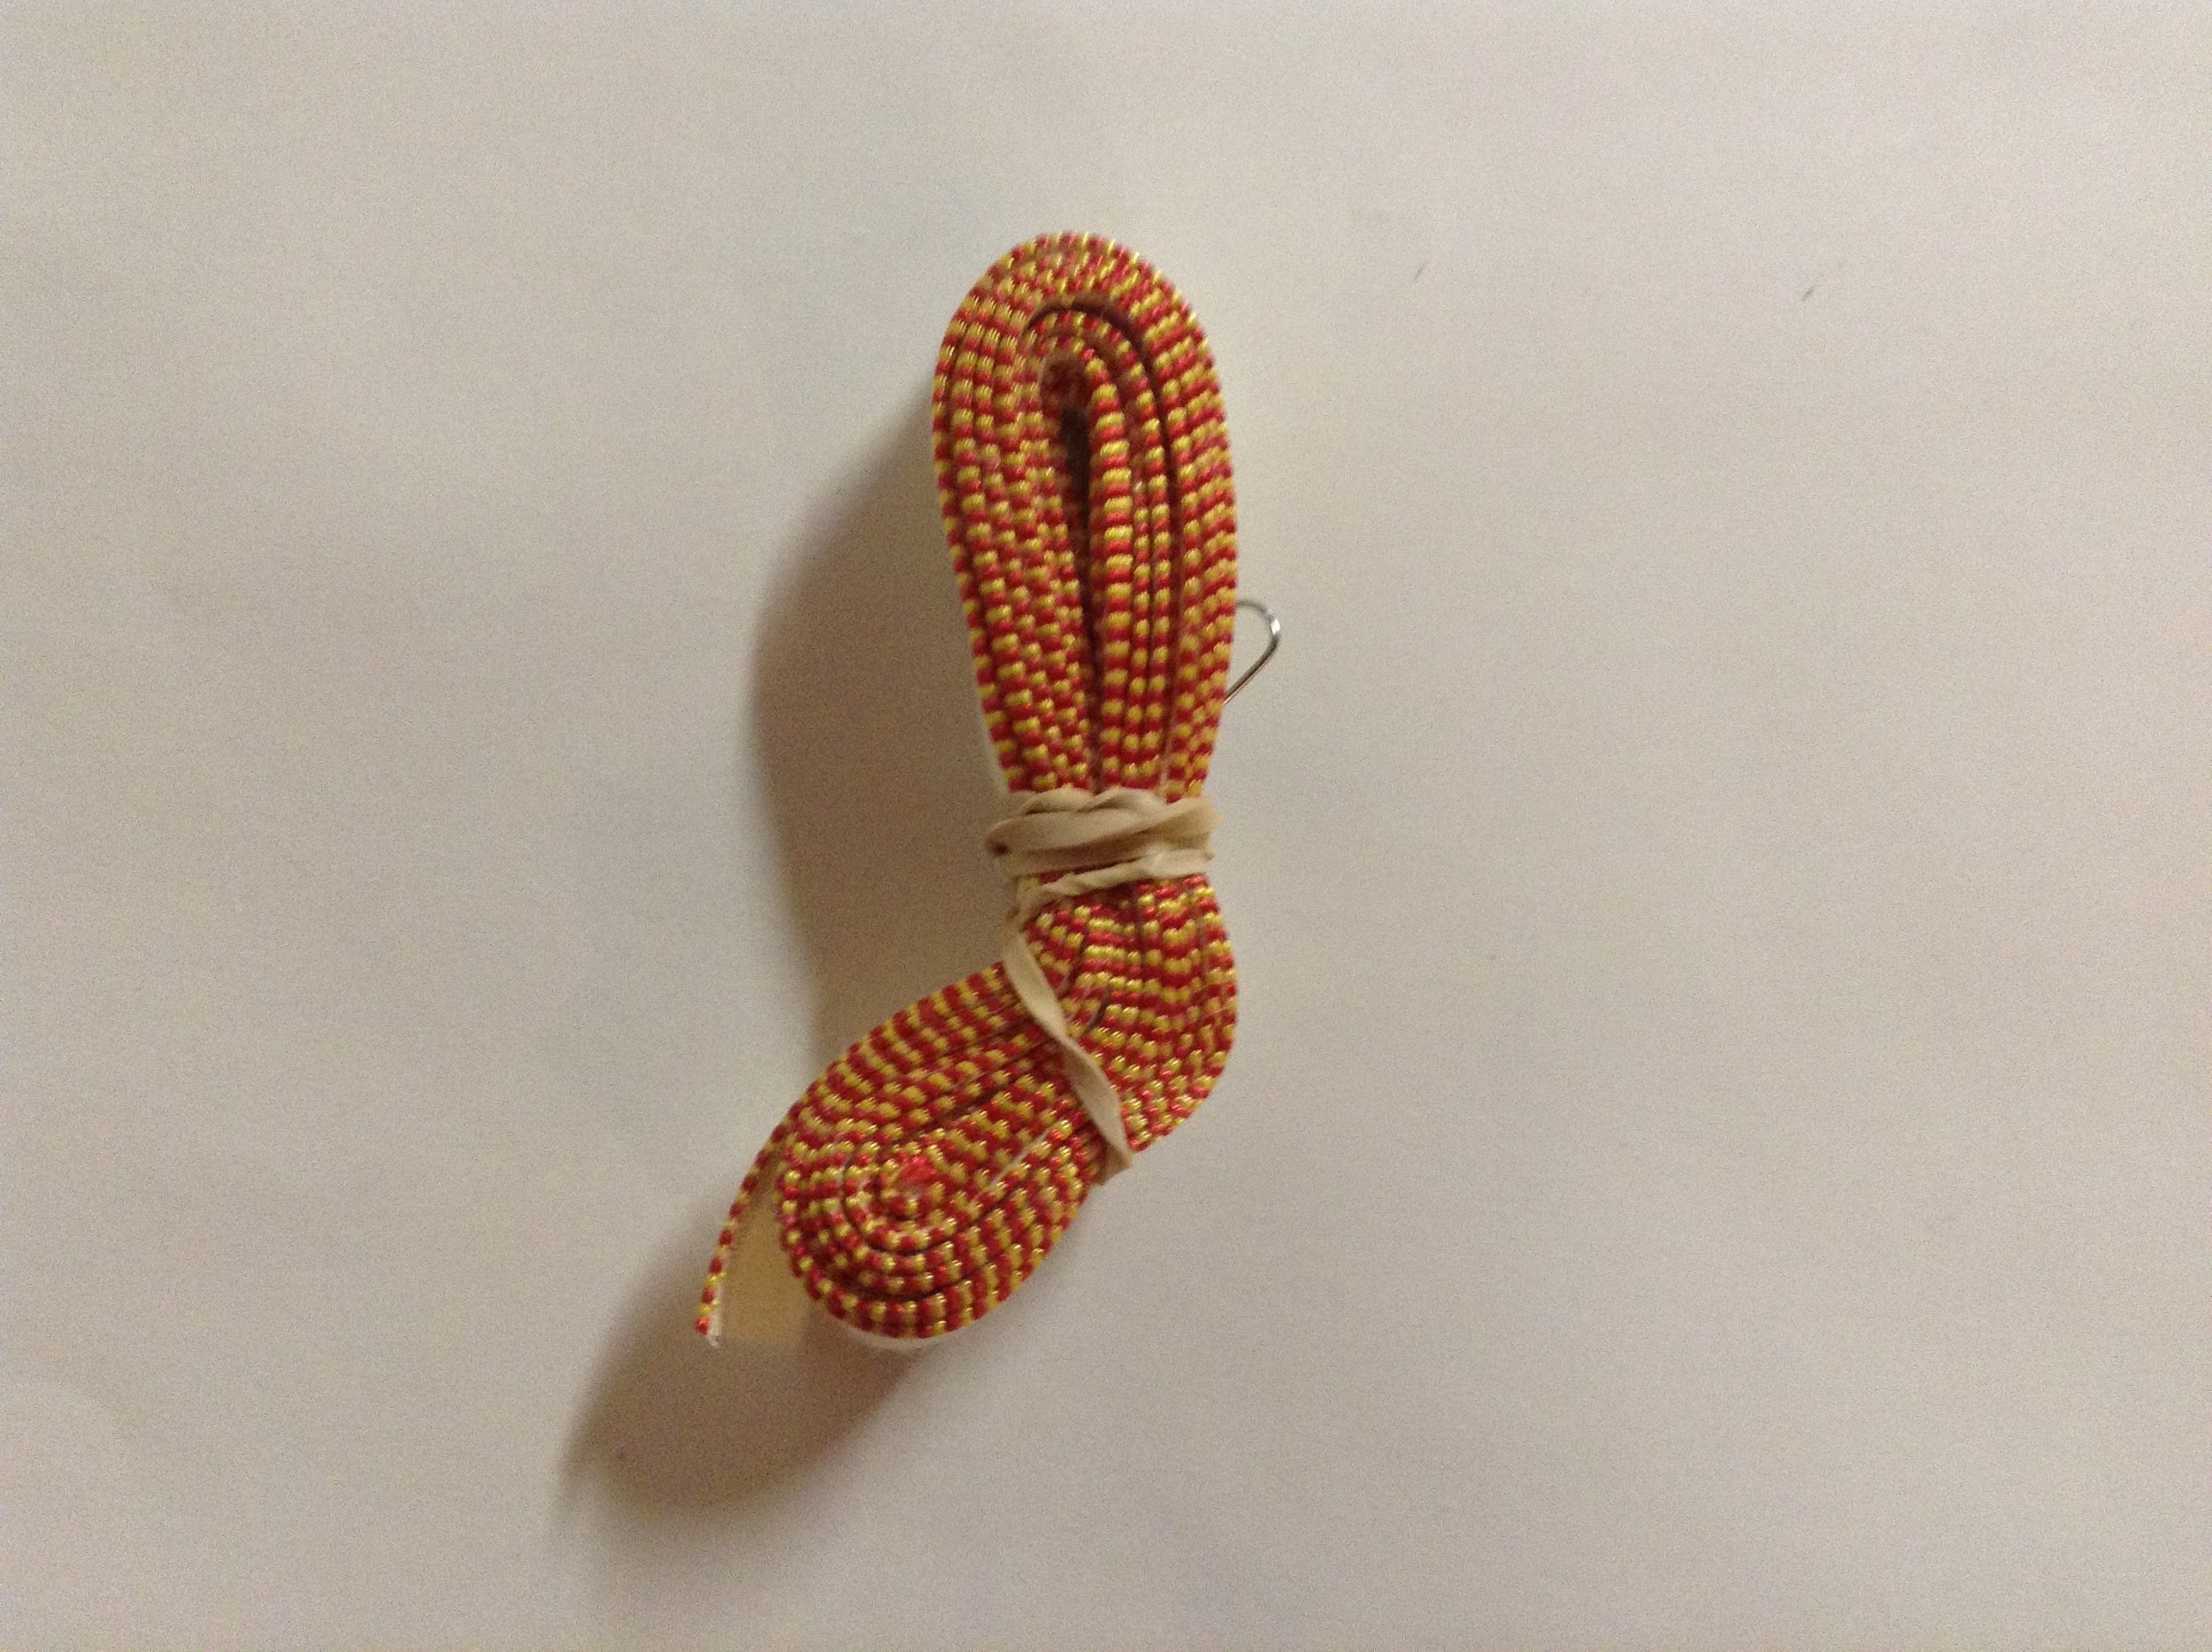
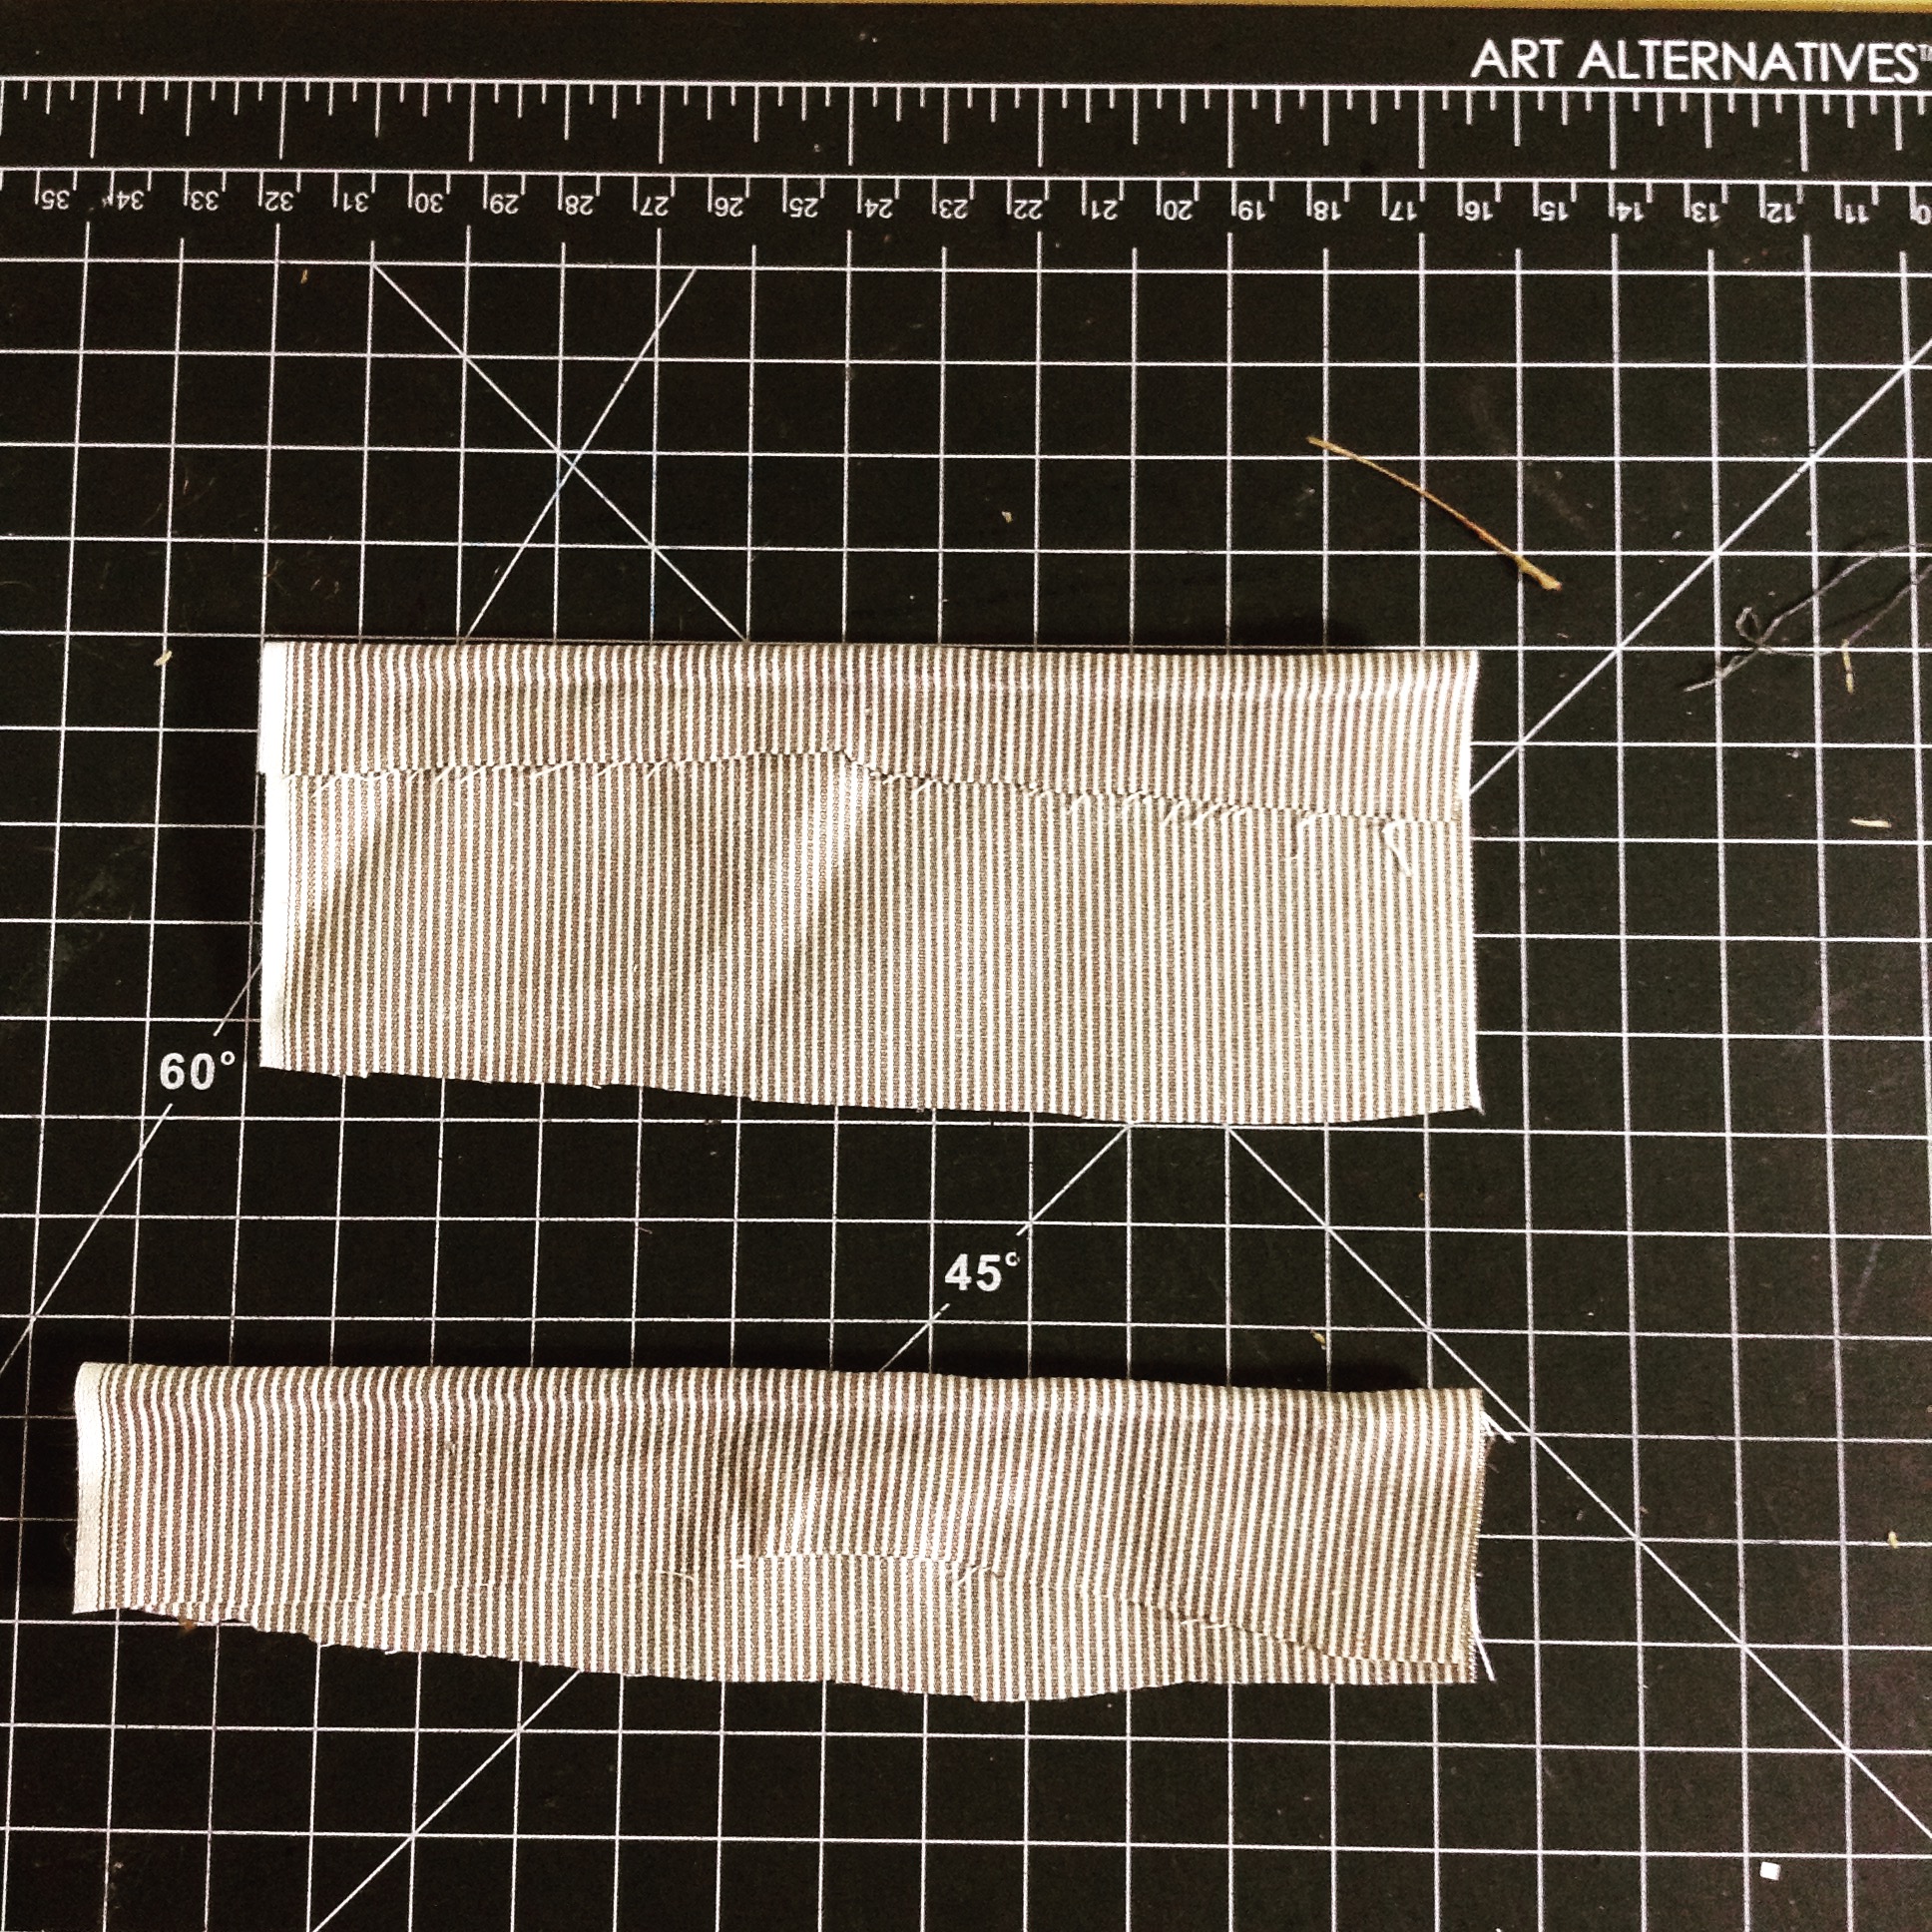
As someone who runs their own small bookbinding and book restoration business I often put an end band onto the books that come into my studio. These generally consist of strips of fabric that are pre -made or if I am giving a large family bible a new set of end bands I will use striped fabric wrapped over peach board.
On hearing that the Delaware Valley Guild of Bookworkers would be running a workshop, (University of the Arts, Philadelphia) that explored the sewn on end band I signed up to the class right away. It is all well and good pasting a piece of fabric onto the head and tail of a book but sometimes a client may want something a little more special.
The workshop was a one day class taught by Tara O'Brien, (Head of Conservation at The Historical Society of Pennsylvania). Tara was an excellent teacher and made the skill of learning to sew on end bands easy to understand. The goal of the class was to learn three basic end bands - a simple wound end band (one color), a conservation end band (one color), and a headband with a bead on the front (two colors). Tara often referred to the book, 'Headbands and How To Work Them, (by Jane Greenfield and Jenny Hille) throughout the class which is a step by step guide on how to create 14 different headbands.
You might have noticed that I have used the words 'end band' and 'head band' - these terms are interchangeable and amount to the same thing, a decorative element that sits on the head and tail of the spine adding protection and some aesthetic sensibility. As I mentioned before I have used glued on headbands since I started bookbinding, you will see this on a lot of hardbound commercially produced books, however this is not a new invention and can be traced back to the 1800's. Yet the sewn on end band is more versatile and stronger since it is sewn into the spine of the book.
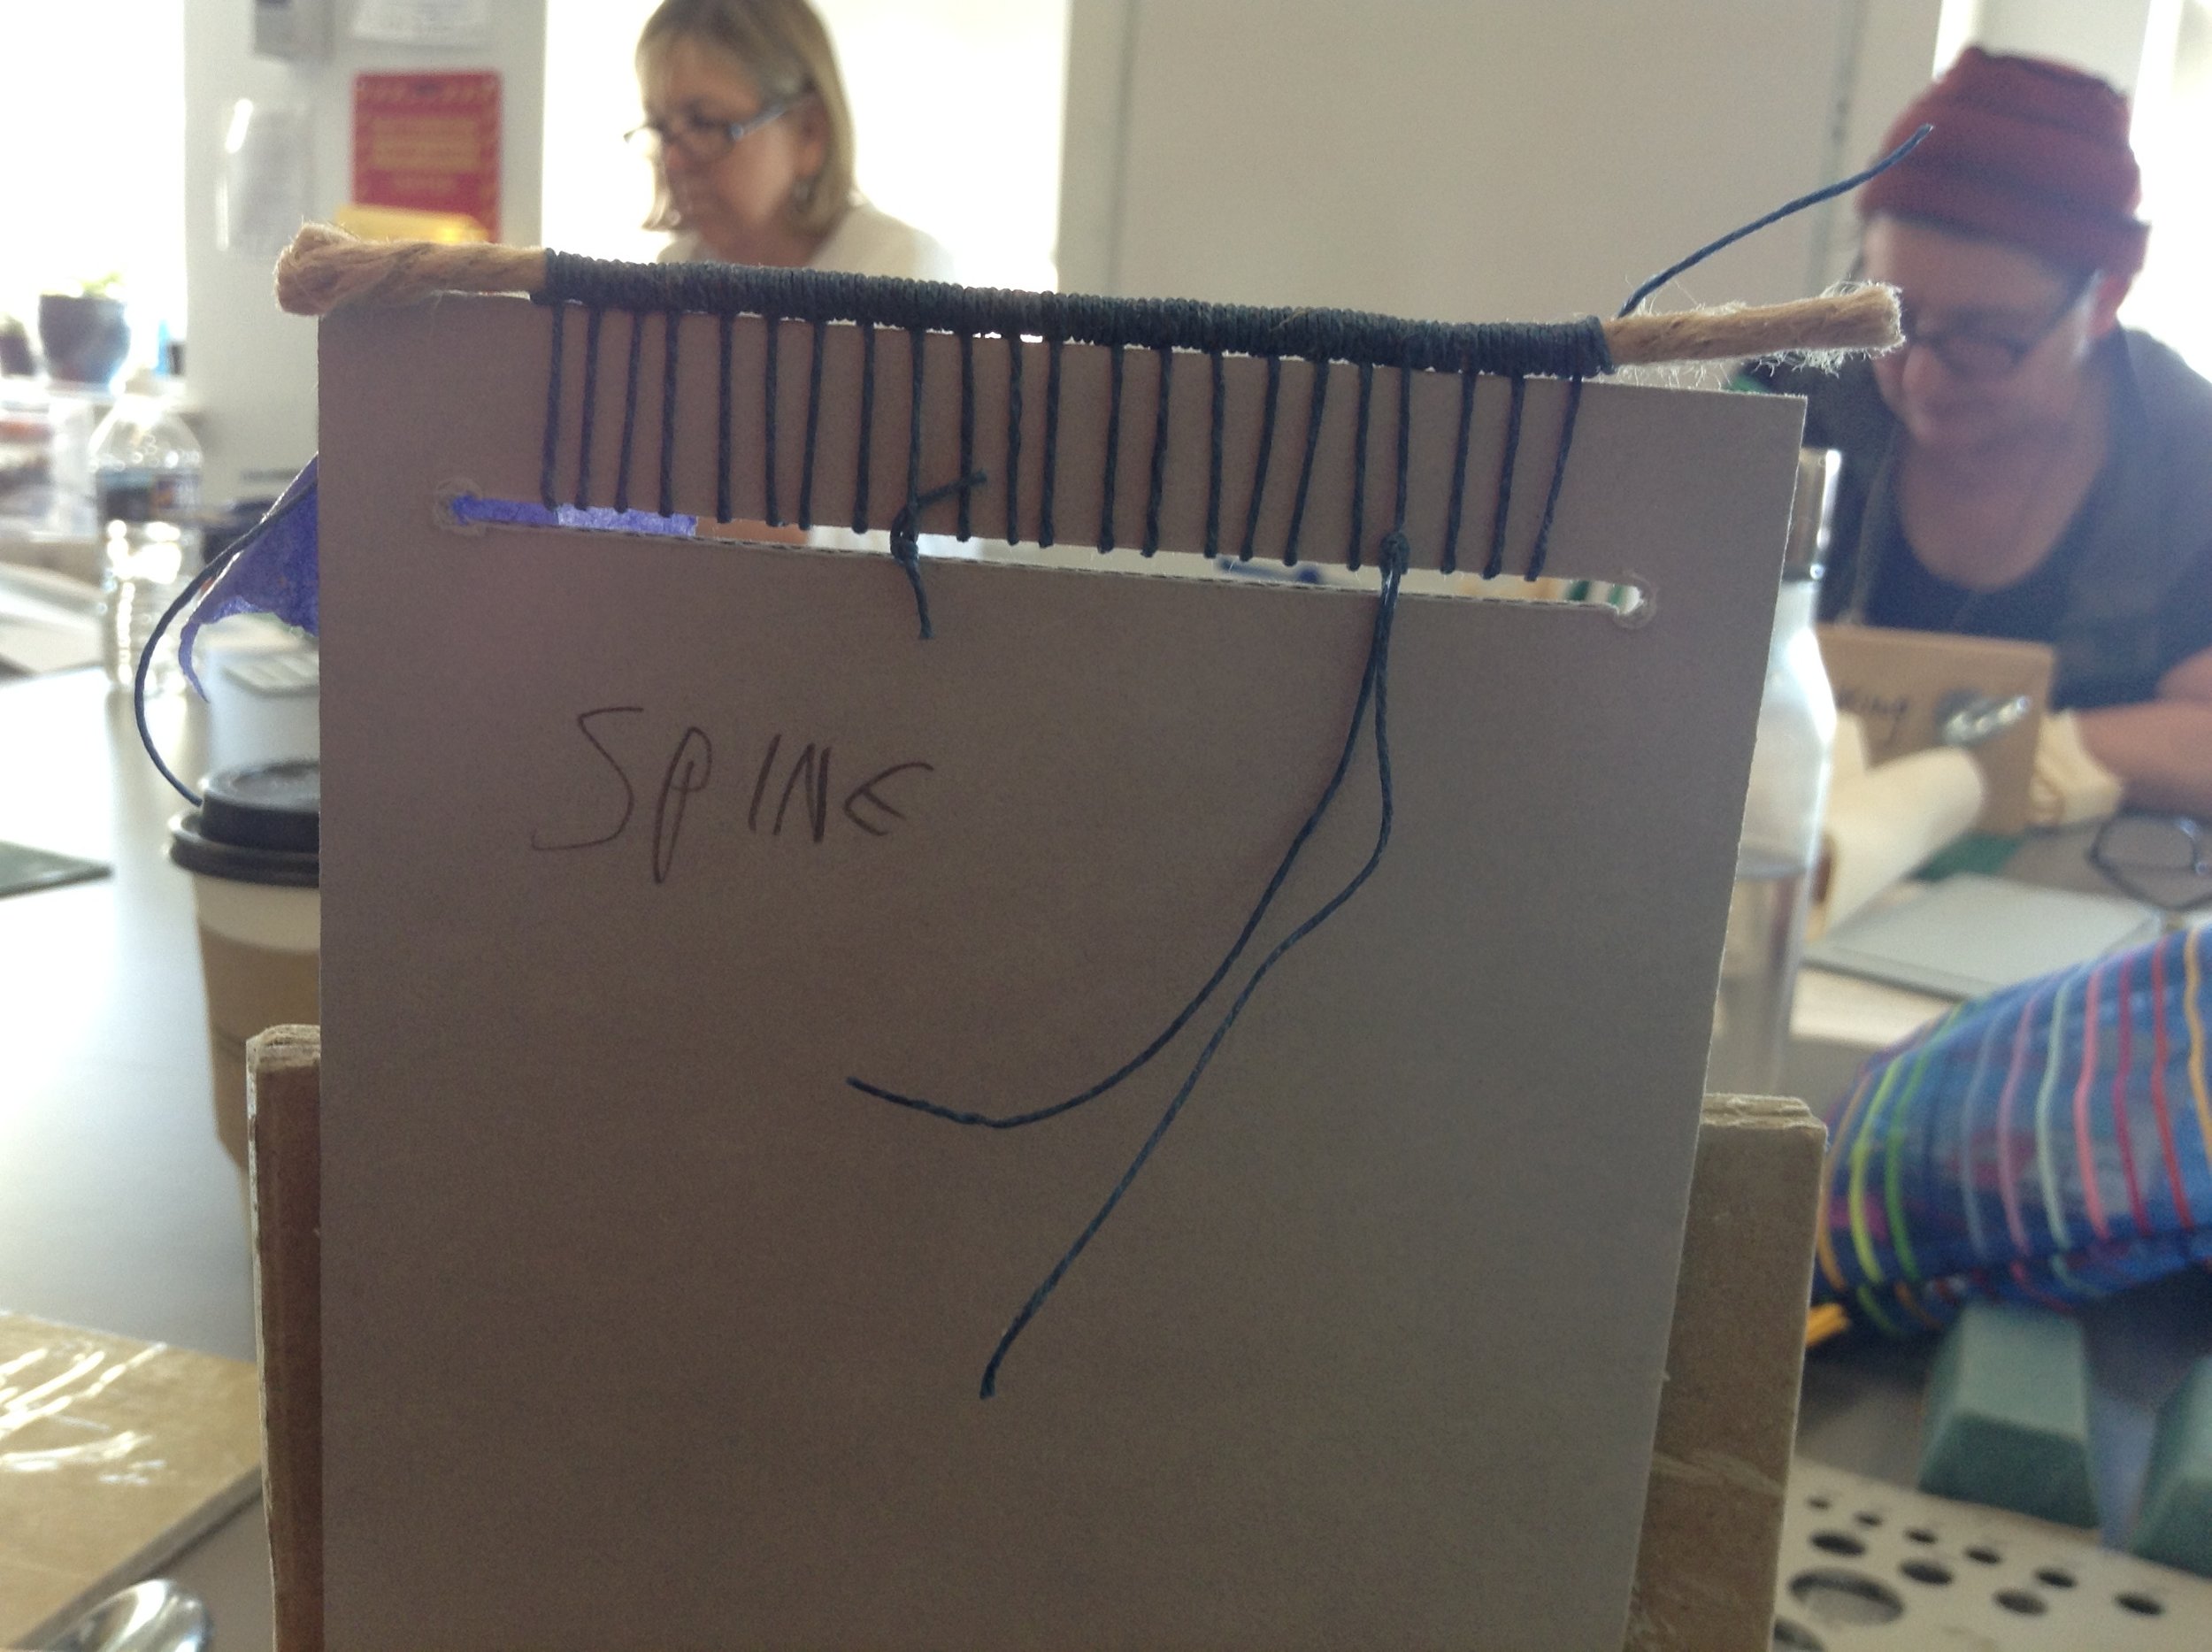
In order to get the hang of the different types of headbands Tara demonstrated on a sewing card, which was made from corrugated acid free board. We cut a 1/2" slot on one end of the card, and labelled one side "spine" and the other "fore edge" so not to get confused.
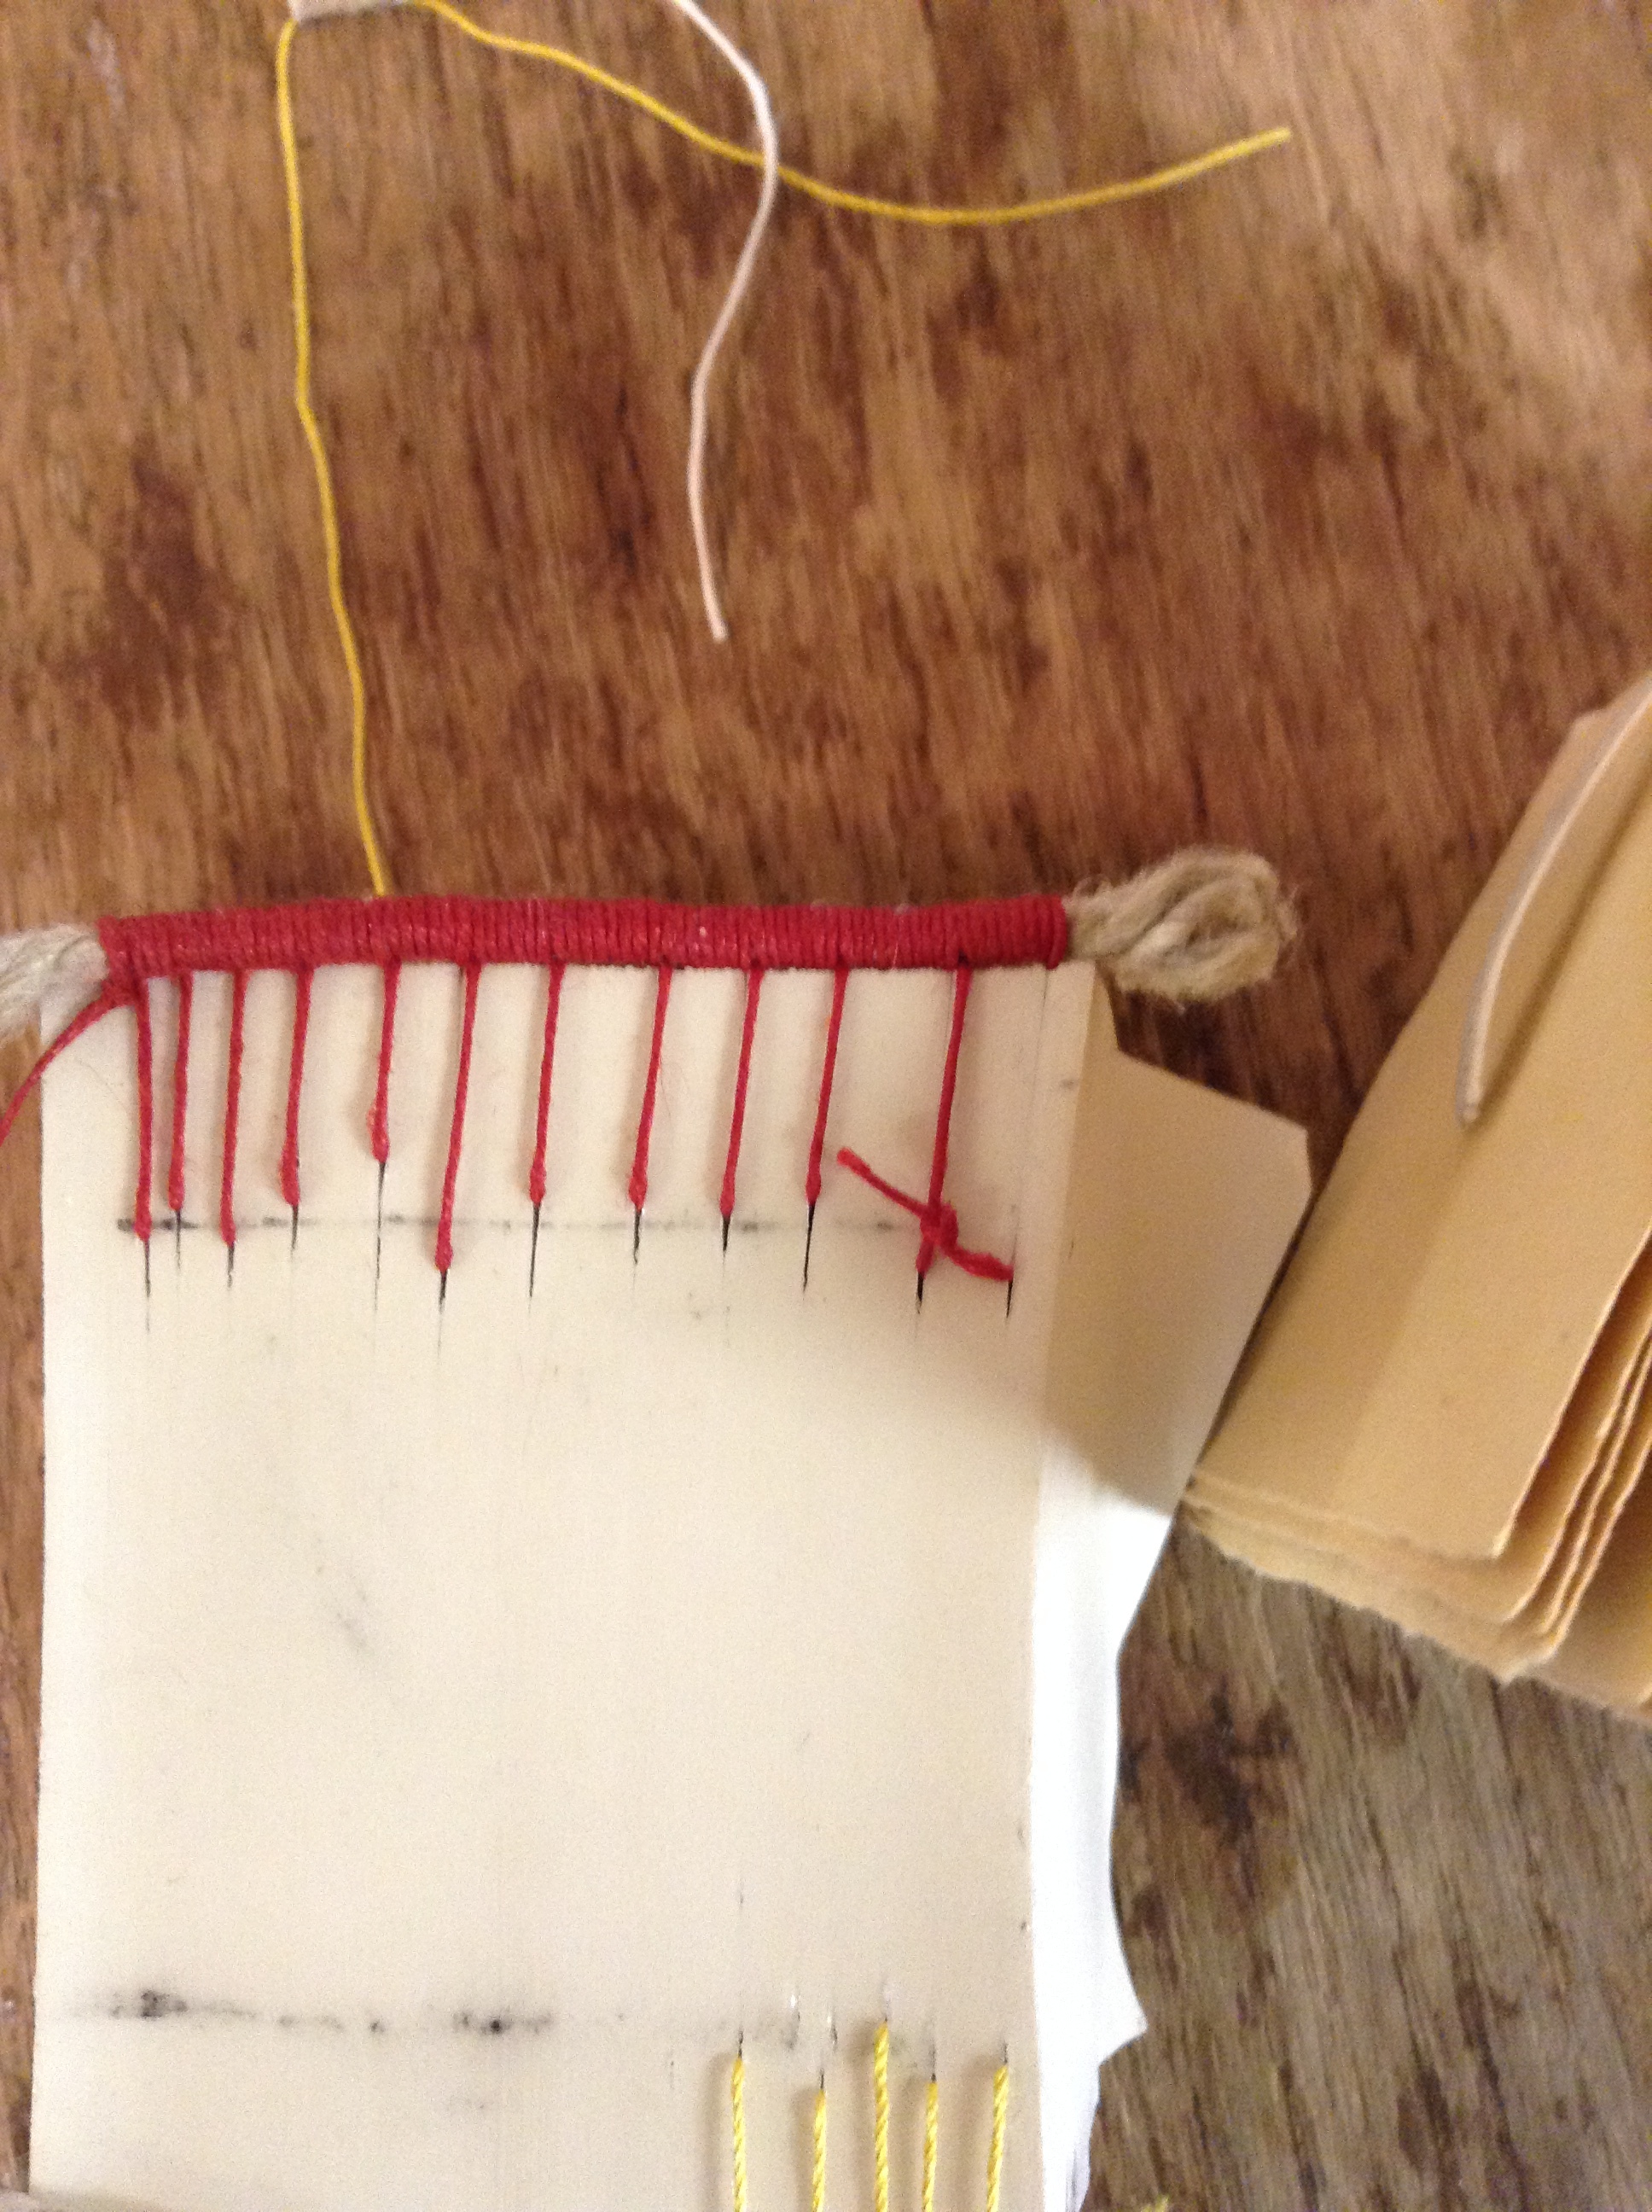
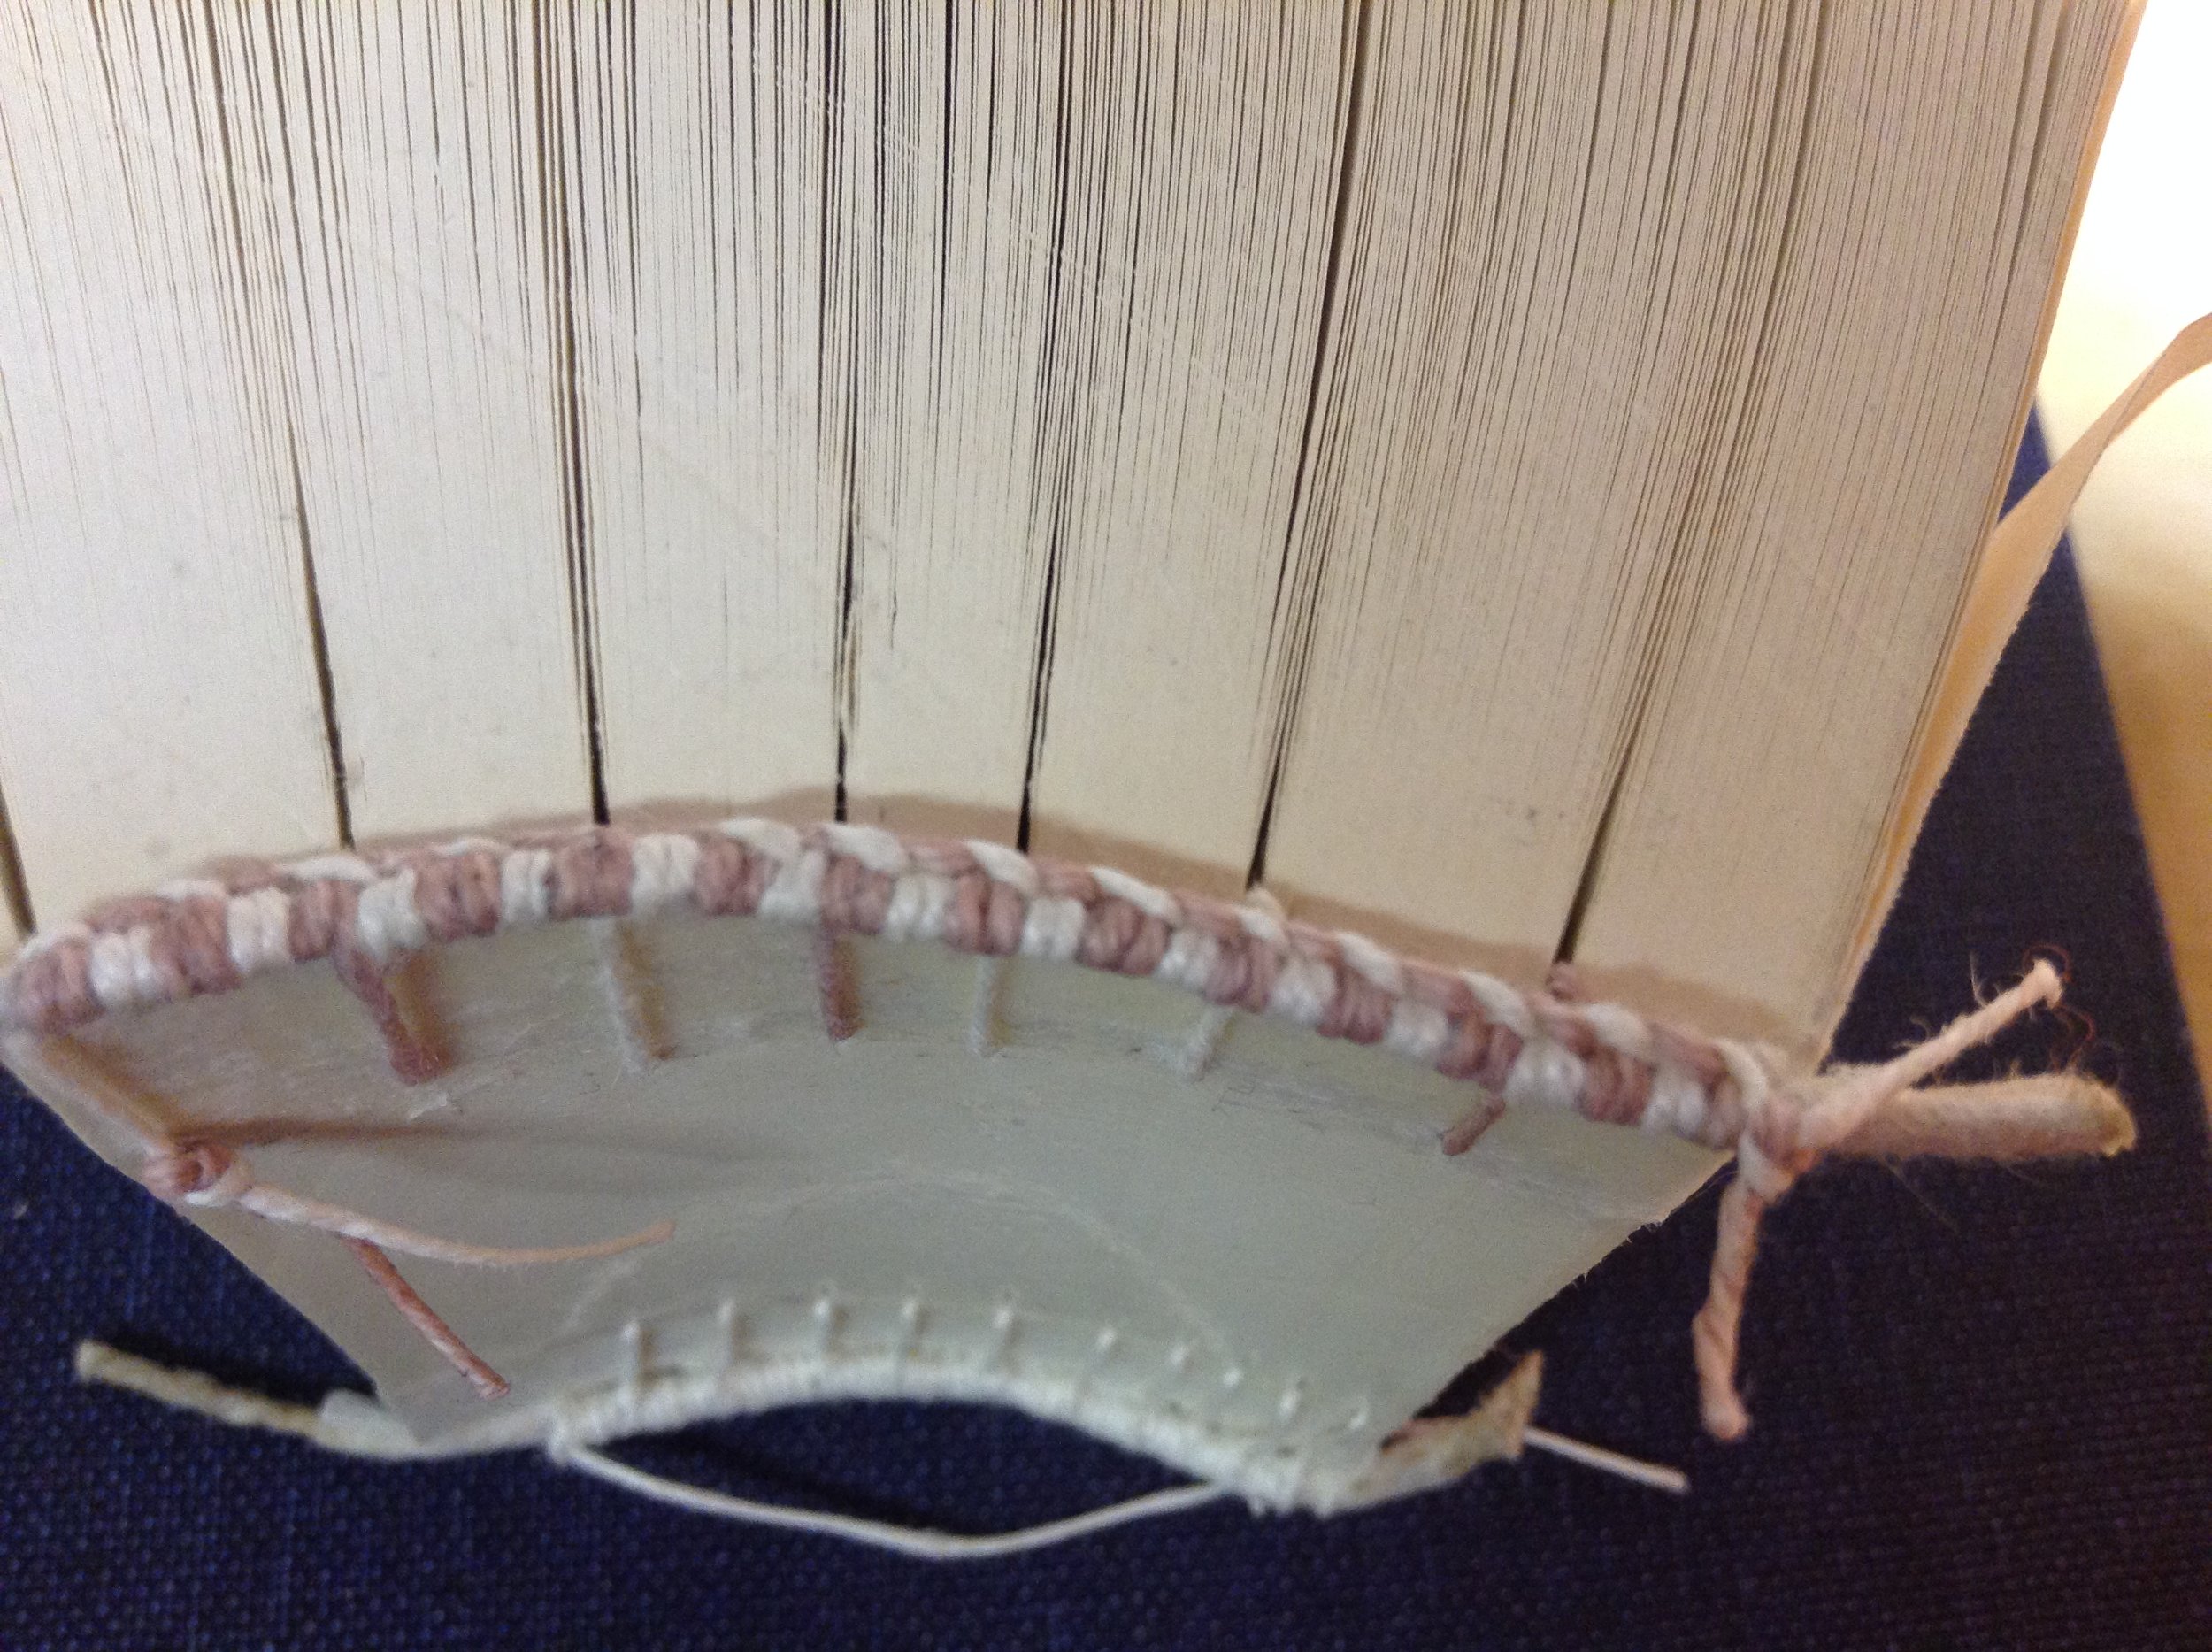
As you can see we use a piece of cord to make the headband and to begin we used waxed linen thread, it is much easier to use when learning this process. Once we had finished our cards Tara then demonstrated on a perfect bound text block - using the same approach but on the book rather than the card. Here is the version I made, you will see that the anchoring point is supposed to land just beyond the kettle stitch, (or in this case on the pencil line) - however mine is a bit of a jumble, sometimes landing before, after and on the imaginary kettle stitch line, yet not too bad for a first try.
In the afternoon we then all took a stab at creating a conservation end band, this particular end band features a little bead in the process. It looks like a little pearl on the outside of the spine and would usually be done in a white linen thread. Tara also showed us a trick that aided in keeping the cord straight against the book rather than it flopping around while trying to sew the headband to the book. One way to do this is to pin it but then there is the danger of pricking oneself - the foolproof method is to take your cord and cover it in Japanese tissue paper using PVA glue and then adhered it to the spine - this enables the cord to be attached nicely to the spine and then you can begin sewing.
Conservation Headband with beading on the back.
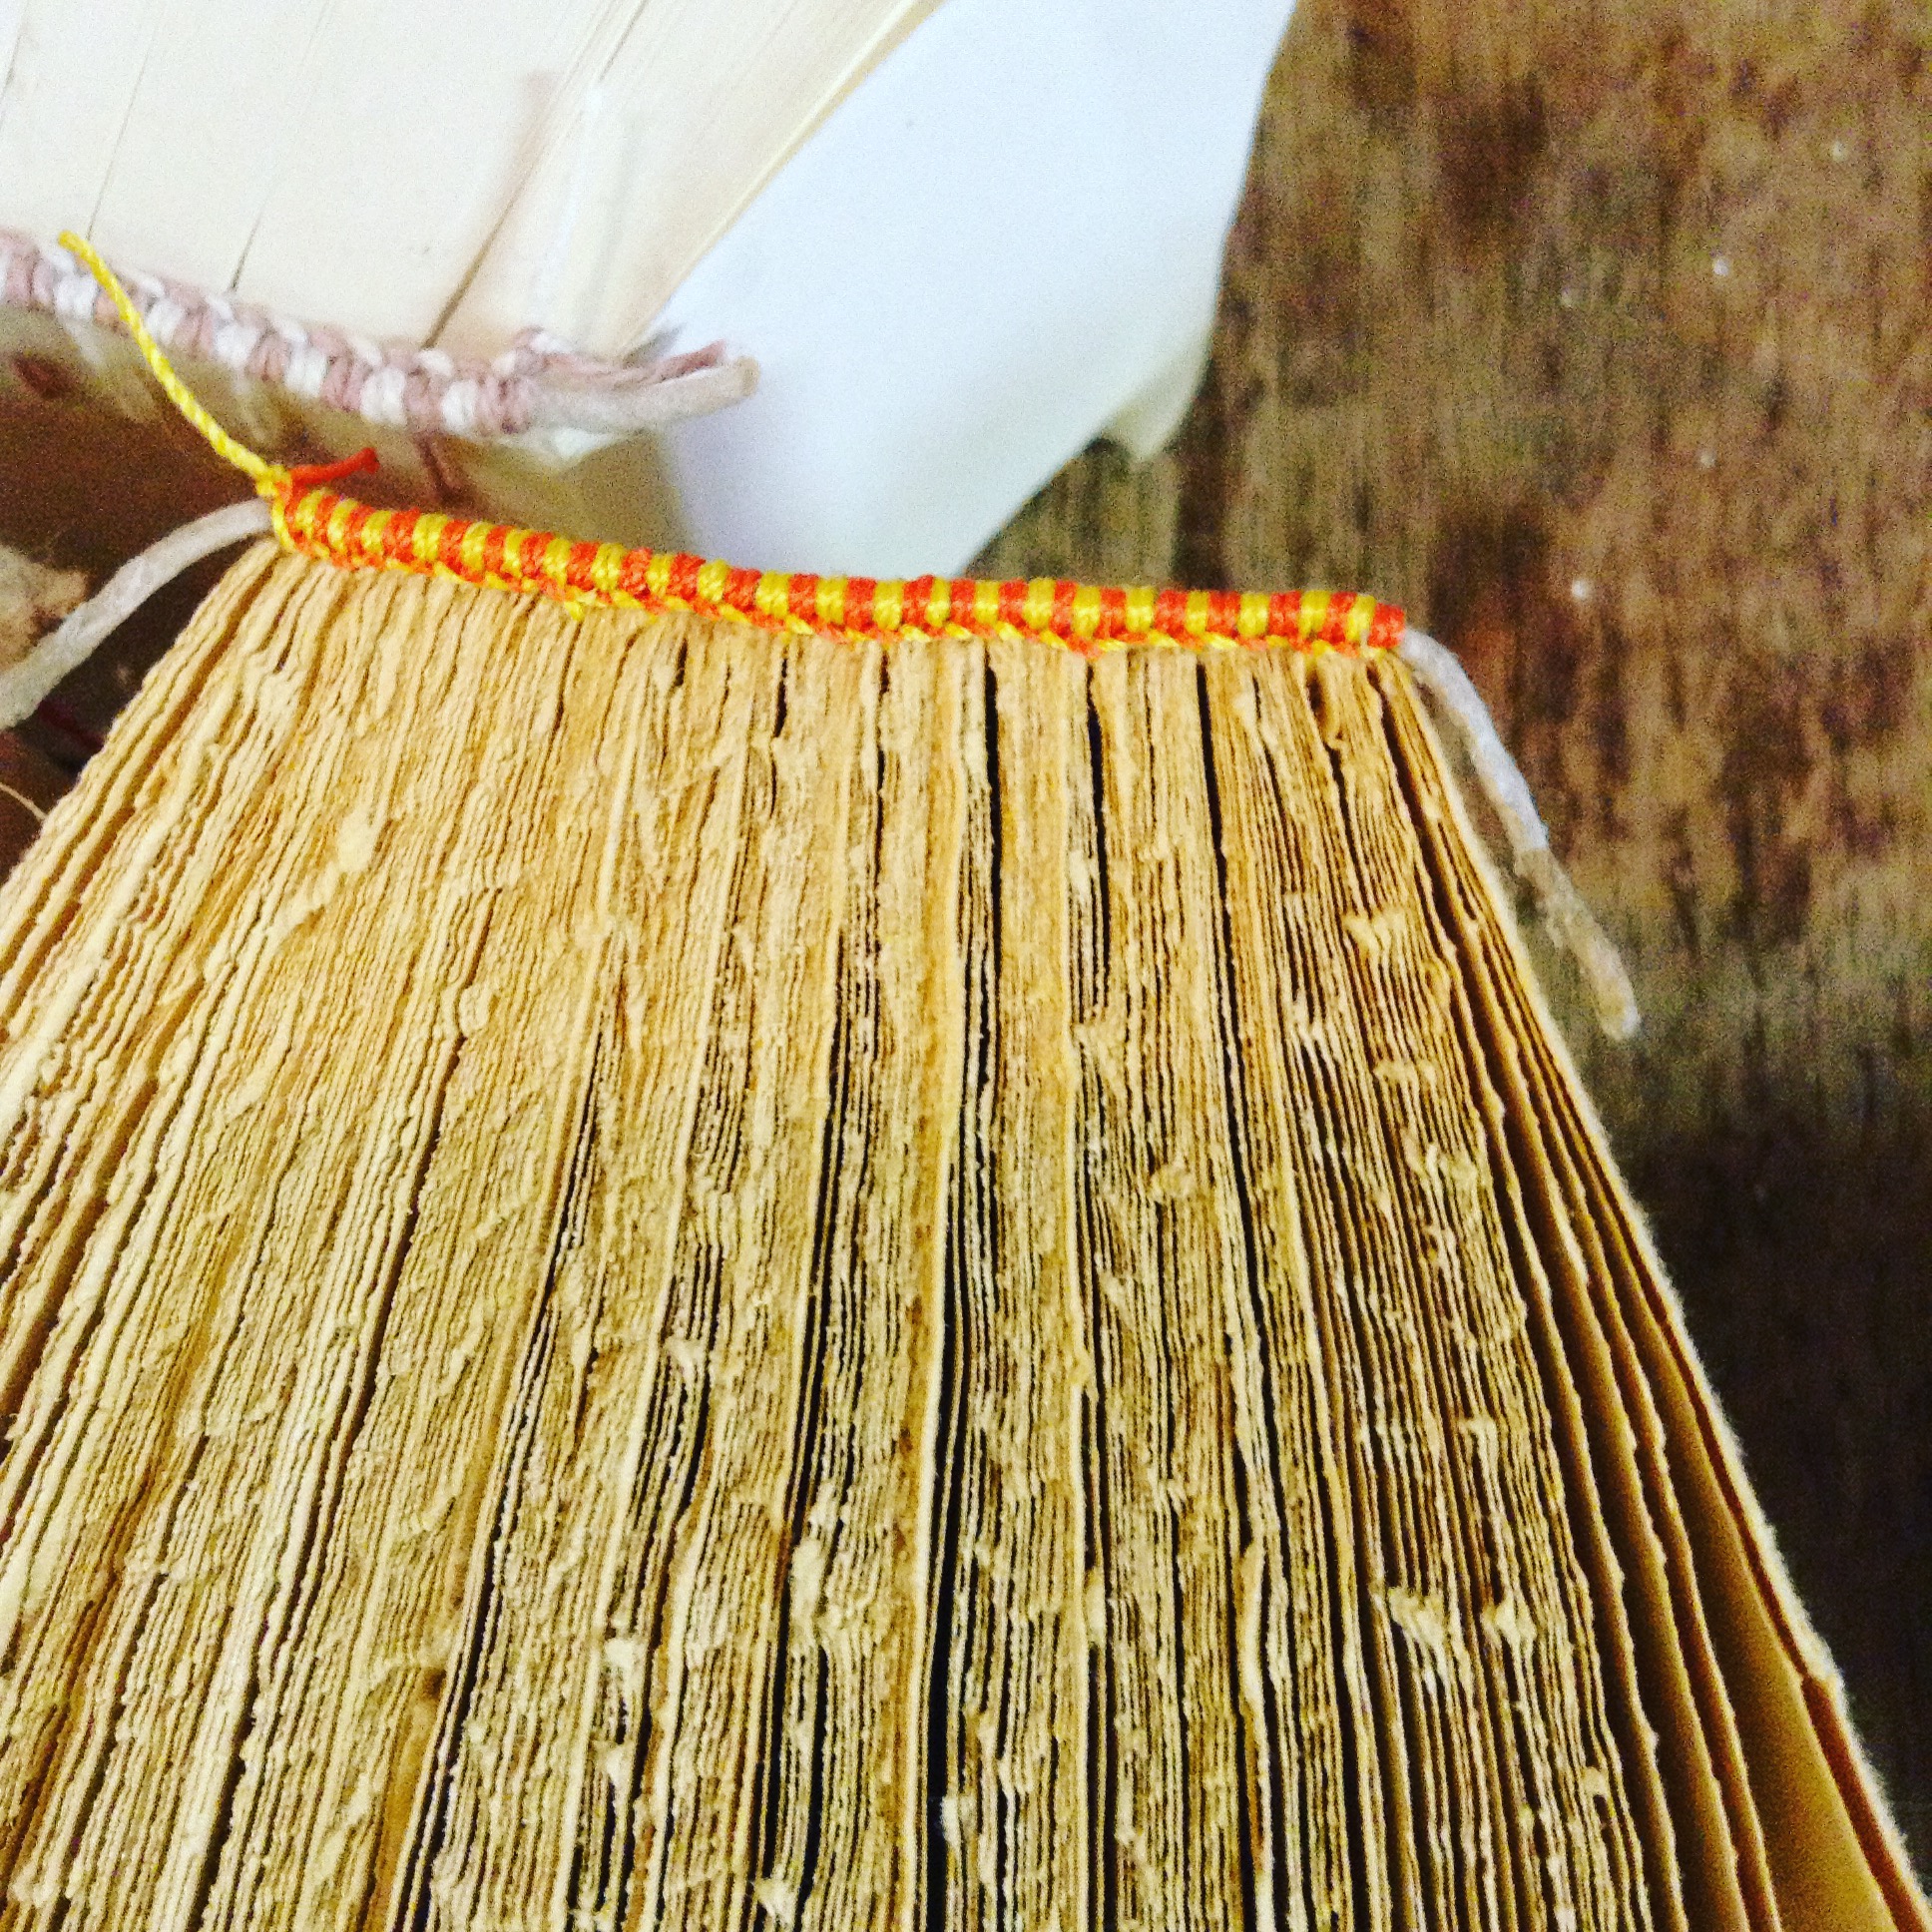
For the final headband of the class, Tara demonstrated the headband with two colors where the bead sits at the front. This was without a doubt the trickiest of all the headbands to learn but definitely the most satisfying. I first practiced on the perfect bound text block using linen waxed threads and then for the silk threads I used a text block with sewn signatures that I had prepared before class. The silk threads are a little more difficult to handle but after some time, patience and practice it becomes easier.
Note to self, Langes Fädchen, faules Mädchen, translated to Long thread, Lazy girl. I am sure many in the bookbinding community are familiar with the translation of this German proverb. I had heard this term in a bookbinding class I took around 6 years ago and Tara mentioned it again during class this weekend. It is tempting to thread a lot on your needle however it is inevitable that with too much thread knots occur and you have to start the whole thing again.
Overall this was a very enjoyable class and I hope to use some of the methods I learned in the work of my clients or even on some of my own artist books. Below a photo of the group's work in the class.
Group Photo

